Fast summary
- Copy contact-point coordinates, not the outdoor frame's published stack and reach numbers.
- Set crank length first, then saddle height and setback, then bar reach and drop.
- Measure from repeatable landmarks and record every smart-bike scale or letter setting.
- A crank-length change alters effective saddle height; compensate before judging comfort.
- For two riders, create separate fit cards and re-check all clamps before riding.
A smart bike can advertise a huge rider-height range and still fail to reproduce your riding position. Height is only a screening tool; the position is created by the coordinates of the saddle, pedals, and hands.
The fastest reliable setup is to copy a comfortable outdoor bike with a tape measure, transfer one dimension at a time, and test under easy load before changing anything. This guide gives you the order and the error checks.
Frame stack and reach are not your final riding position
Frame stack and reach describe a bicycle frame from the bottom bracket to the top of the head tube. They help compare frames, but they do not include stem length, stem angle, spacers, handlebar reach, hood position, saddle setback, saddle shape, or crank length. Copying two frame numbers to a smart bike can therefore produce the wrong hand and hip coordinates.
For an indoor transfer, measure the contact-point system: bottom bracket to saddle, saddle behind or ahead of the bottom bracket, saddle to the hood position, and vertical drop from saddle to bars. If your outdoor position is comfortable for long steady rides, those coordinates are a better starting point than a height chart.
A manufacturer fit algorithm is a starting estimate. Wahoo explicitly notes that its fit calculation does not guarantee injury prevention, and Garmin describes smart-bike fit as a process that may require several rides.
The six measurements to record
Level both bikes on the same floor before measuring. Put the same pedal orientation on each bike and use the same saddle landmark rather than measuring to a soft or curved edge differently each time. A plumb line, tape measure, spirit level, and phone camera are enough for a useful transfer.
If you have a professional bike-fit report, confirm what each number references. A reported frame reach is not automatically the same as saddle-to-hood reach, and a fitter's saddle-height convention may use a different saddle point.
| Measurement | Repeatable landmarks | Why it matters |
|---|---|---|
| Crank length | Printed length or pedal-hole setting | Changes pedal circle and effective leg extension |
| Saddle height | Bottom-bracket center to saddle top along seat-tube line | Primary knee-extension coordinate |
| Saddle setback | Saddle reference point relative to bottom-bracket vertical | Changes hip position and reach |
| Saddle-to-bar reach | Saddle nose or fixed saddle point to hood grip | Controls torso and shoulder load |
| Saddle-to-bar drop | Vertical difference between saddle top and hood/bar | Controls posture and hip closure |
| Contact points | Saddle model, bar width, hood angle, pedals and cleats | Small differences become obvious indoors |
Set the smart bike in the correct order
- 1
Install your pedals and choose crank length
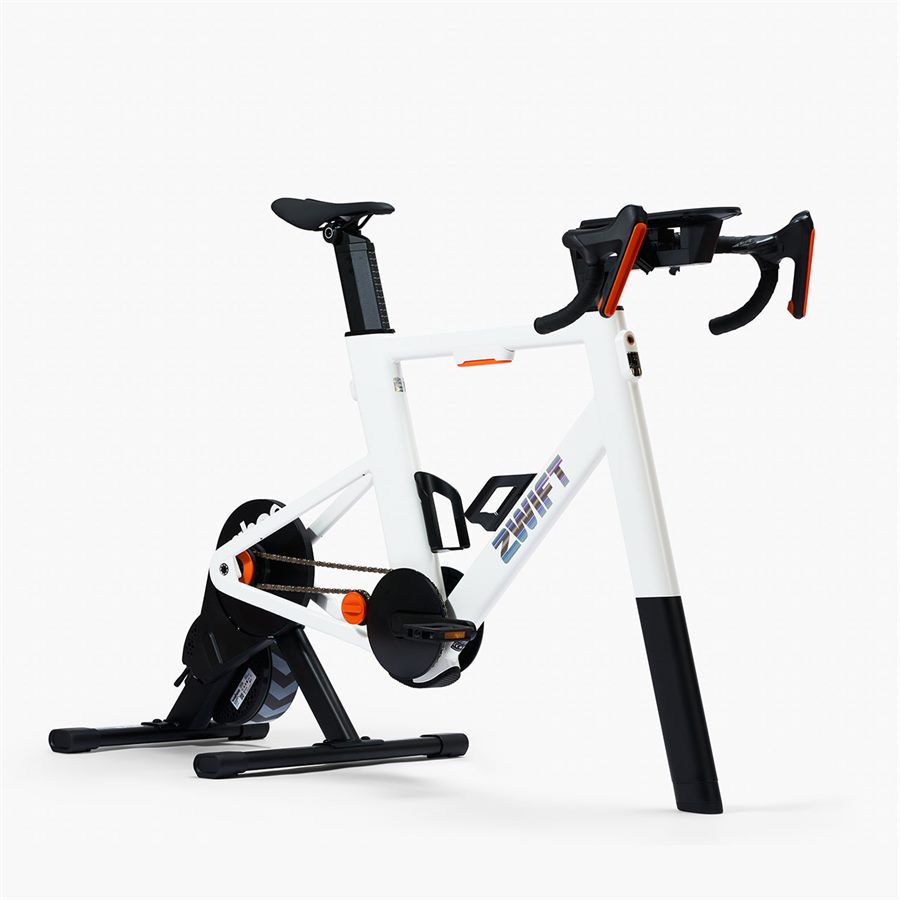
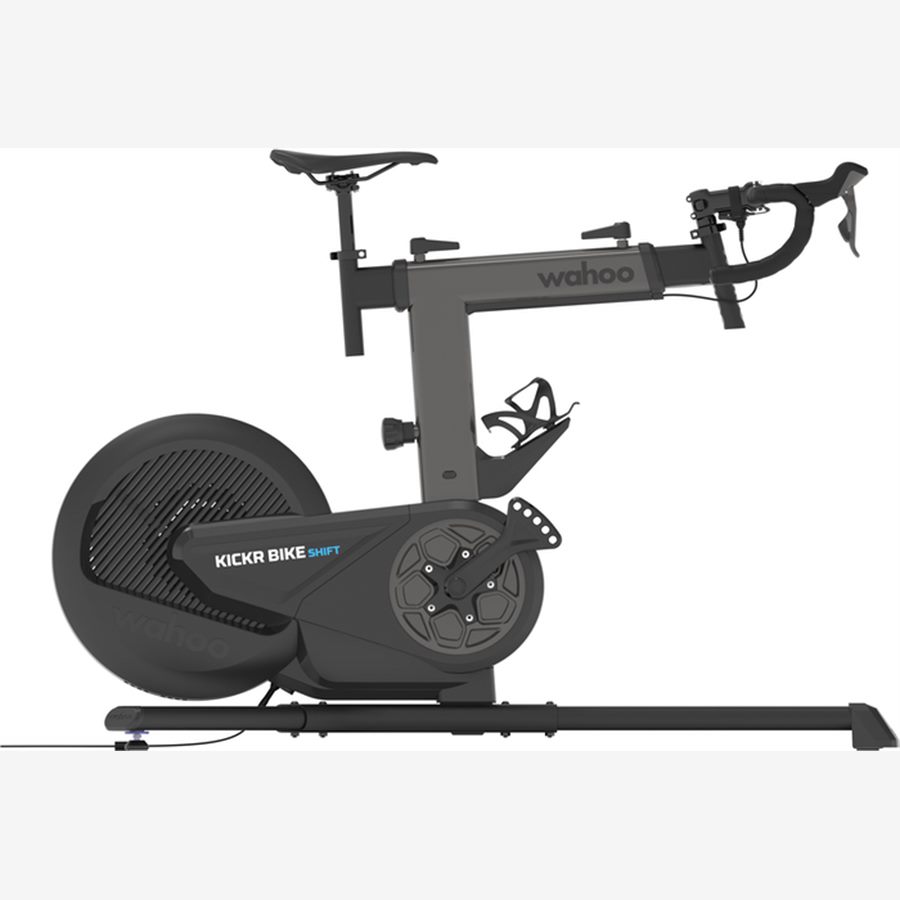
Match the outdoor bike when possible. Wahoo BIKE models offer 165, 167.5, 170, 172.5, and 175 mm positions. Zwift Ride ships with 170 mm cranks; an optional set adds 160, 165, 170, 172.5, and 175 mm.
- 2
Set saddle height
Measure from the smart bike's bottom-bracket center to the same point on the saddle. Do not use post markings as if they were universal centimeters.
- 3
Set saddle setback
Move the saddle fore-aft until the hip coordinate matches. Re-check saddle height because angled rails or posts can change both dimensions together.
- 4
Set bar reach and drop
Transfer the hand position, then rotate the bar and hoods to match wrist angle. A correct reach with badly rotated controls still feels wrong.
- 5
Ride easily and change one variable
Use 20-30 minutes of easy spinning, then one longer steady ride. Make one small change, record it, and test again before stacking adjustments.
Crank length is the hidden fit variable
Smart-bike comparisons often bury crank length below power and gradient specifications. That is a mistake. Shorter cranks reduce the radius of the pedal circle and can create more clearance at the top of the stroke; longer cranks change knee and hip motion in the opposite direction. The correct choice depends on the rider and existing fit, not status.
When moving from a 175 mm crank to 165 mm, the pedal is 10 mm closer to the bottom bracket at the bottom of the stroke. As a practical starting correction, raise the saddle by roughly the crank-length difference to preserve extension, then verify setback, hip comfort, and pedaling under load. A professional fitter should guide changes made to address pain or mobility limits.
Do not assume a fixed 170 mm crank is harmless because the rider falls inside the listed height range. Zwift's optional adjustable crank set exists specifically for more tailored fits. Conversely, changing crank length only because an upgrade exists can create a new problem.
Fit notes for the main smart-bike paths
| Model path | Published fit detail | Buying implication |
|---|---|---|
| Zwift Ride | 152-198 cm; fixed 170 mm stock crank | Wide height range, but verify crank and cockpit coordinates |
| Zwift Ride adjustable cranks | 160-175 mm across five settings | Optional part and installation step for non-stock length |
| KICKR BIKE SHIFT | 152-193 cm; five crank positions | Good transfer range with five-point frame adjustment |
| KICKR BIKE PRO | 152-193 cm; five crank positions | Same fit logic; tilt does not correct a poor static position |
| Tacx NEO Bike Plus | Five crank options and adjustable saddle/bar rails | Record settings; Garmin recommends re-checking after changes |
Why an outdoor fit may need a small indoor adaptation
Indoors, the bicycle is more static, airflow is lower, and riders often stay seated for longer continuous blocks. A position that feels fine while moving around outdoors can concentrate pressure on the hands, saddle, or hips indoors. Start from the outdoor coordinates, but allow evidence from repeated indoor rides to justify a small adaptation.
Before shortening reach or lowering the saddle, fix the easy confounders: use a serious fan, level the bike, wear the same shoes and shorts, confirm cleat position, and stand periodically. Heat and a motionless bike can create discomfort that looks like a geometry error.
- Numb hands: check bar drop, hood angle, reach, core support, and whether too much weight is forward.
- Front-of-knee discomfort: review saddle height, setback, crank length, and sudden training-load changes.
- Hip pinching at the top: review crank length, saddle height, torso angle, and mobility with a qualified fitter.
- Saddle pressure: confirm saddle model, tilt, height, shorts, and standing breaks before buying another frame.
Persistent pain, numbness, weakness, or one-sided symptoms are not an invitation to keep guessing. Stop and use a qualified bike fitter or medical professional as appropriate.
Create a repeatable fit profile for every rider
For a shared smart bike, record the physical scale or letter for frame height, saddle height, saddle setback, bar height, and reach. Add crank setting, saddle choice, pedal system, and a photo from each side. Garmin explicitly recommends recording height and reach values for multiple riders.
The fastest changeover is not always the most accurate. Support the saddle while loosening it, get off the bike before every adjustment, keep the required tool at the station, and confirm quick releases or specified torque before riding. If one person changes the crank position, treat that as a full fit change rather than a quick seat adjustment.
Validate the fit before hard intervals
Do not make the first ride an FTP test. Hard effort changes posture and can mask a basic fit problem until tissue is already irritated. Validate at easy and moderate intensities, then introduce threshold and sprint work.
| Test | What you are checking |
|---|---|
| 20 min easy spin | Basic joint comfort, saddle stability, and reach |
| 45-60 min Zone 2 | Pressure accumulation, hand load, and hip comfort |
| Low-cadence seated block | Knee tracking and stability under torque |
| Short standing efforts | Bar security, frame stability, and clearance |
| Next-morning check | Whether discomfort was transient effort or a repeated fit signal |
Key takeaways
- Transfer contact points from a known comfortable bike instead of copying frame marketing numbers.
- Choose crank length before setting saddle and cockpit coordinates.
- A wide rider-height range does not guarantee a usable fit for unusual proportions or mobility needs.
- Change one variable at a time and validate over a long steady ride.
- Use separate written fit profiles for every household rider.
FAQ
Use them only if the numbers reference the same contact points. Published frame stack and reach exclude the stem, bars, hoods, saddle position, and other parts that determine your final posture.
Sources and further reading
Primary research, public guidance, and product documentation used to check the claims in this guide.